
About
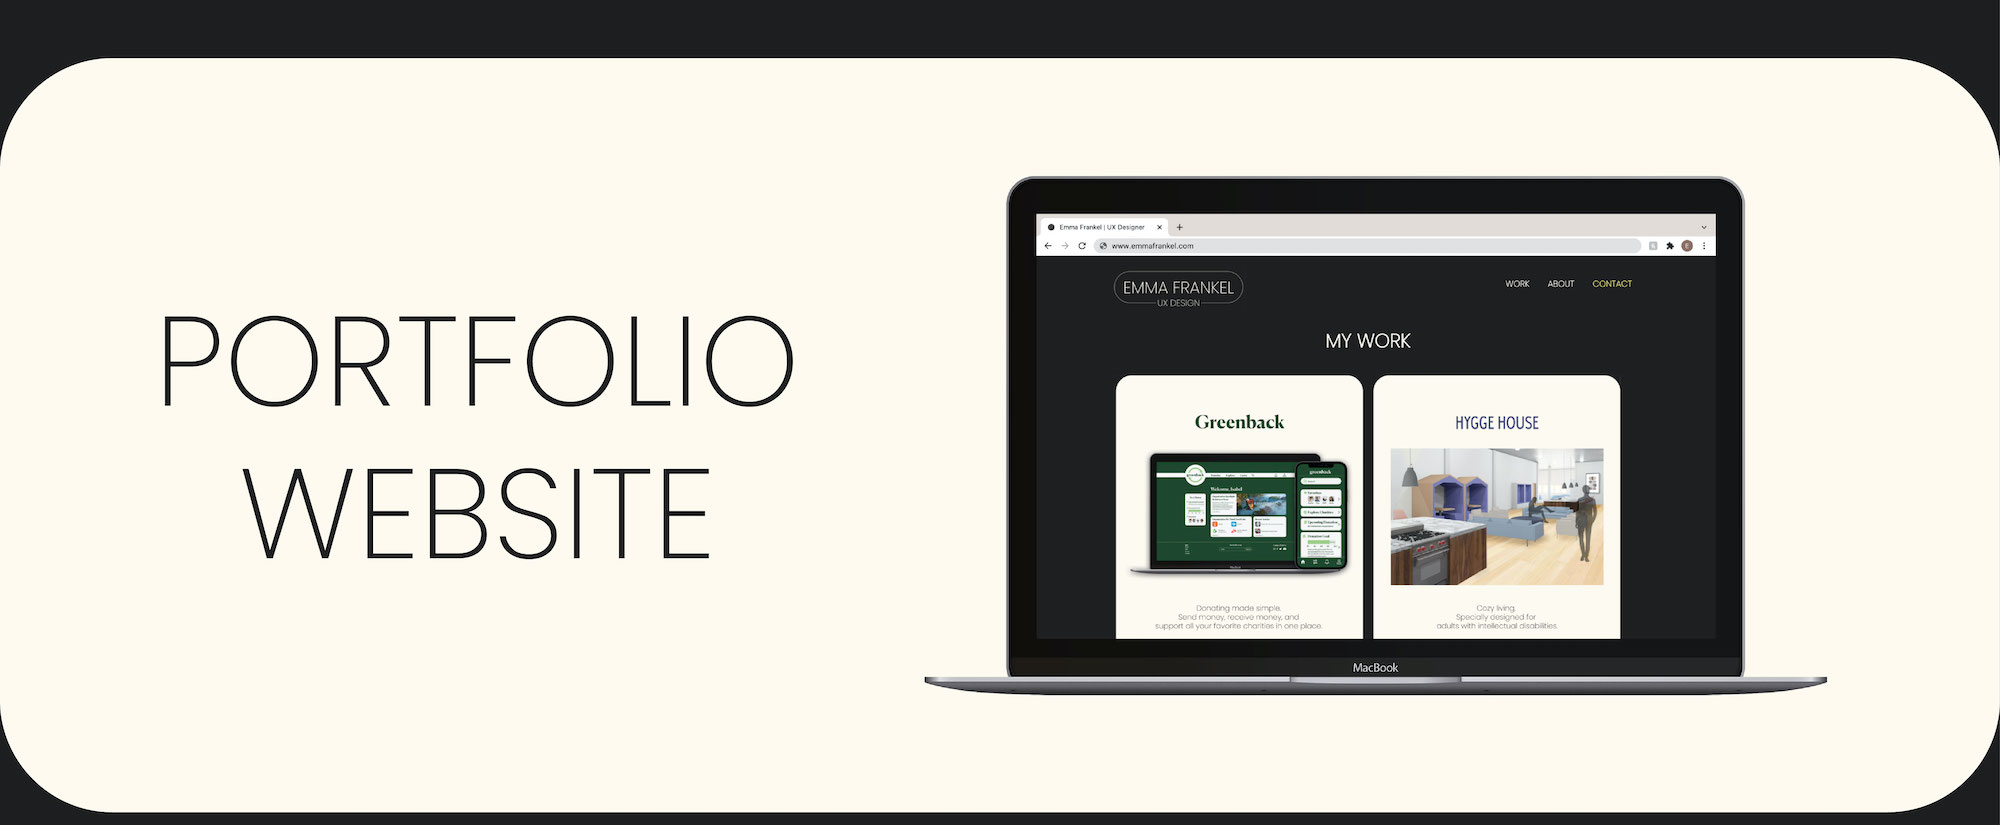
This website was created as a portfolio for my UX and frontend design. The goal was to create something that was simple and sleek and could serve as the backdrop to display my work. You’ve already been experiencing this project first hand since you’ve reached this page but here is a behind the scenes look at my process.
Tools Used
- Atom
- GitHub
- W3C Markup Validation Service
- Adobe Illustrator
The Challenge
Before beginning the the CareerFoundry Frontend Development for Designers specialization I had no prior experience with coding. While I knew it would be a challenge I wanted to go out of my comfort zone and learn because I know it is a useful skill to have and will help me become a stronger UX designer.
Goals
The goal was to learn the basics of coding and create a portfolio to showcase my design work. Using the skills learned in my UX design course I wanted to create something I could share with industry professionals and potential employers.

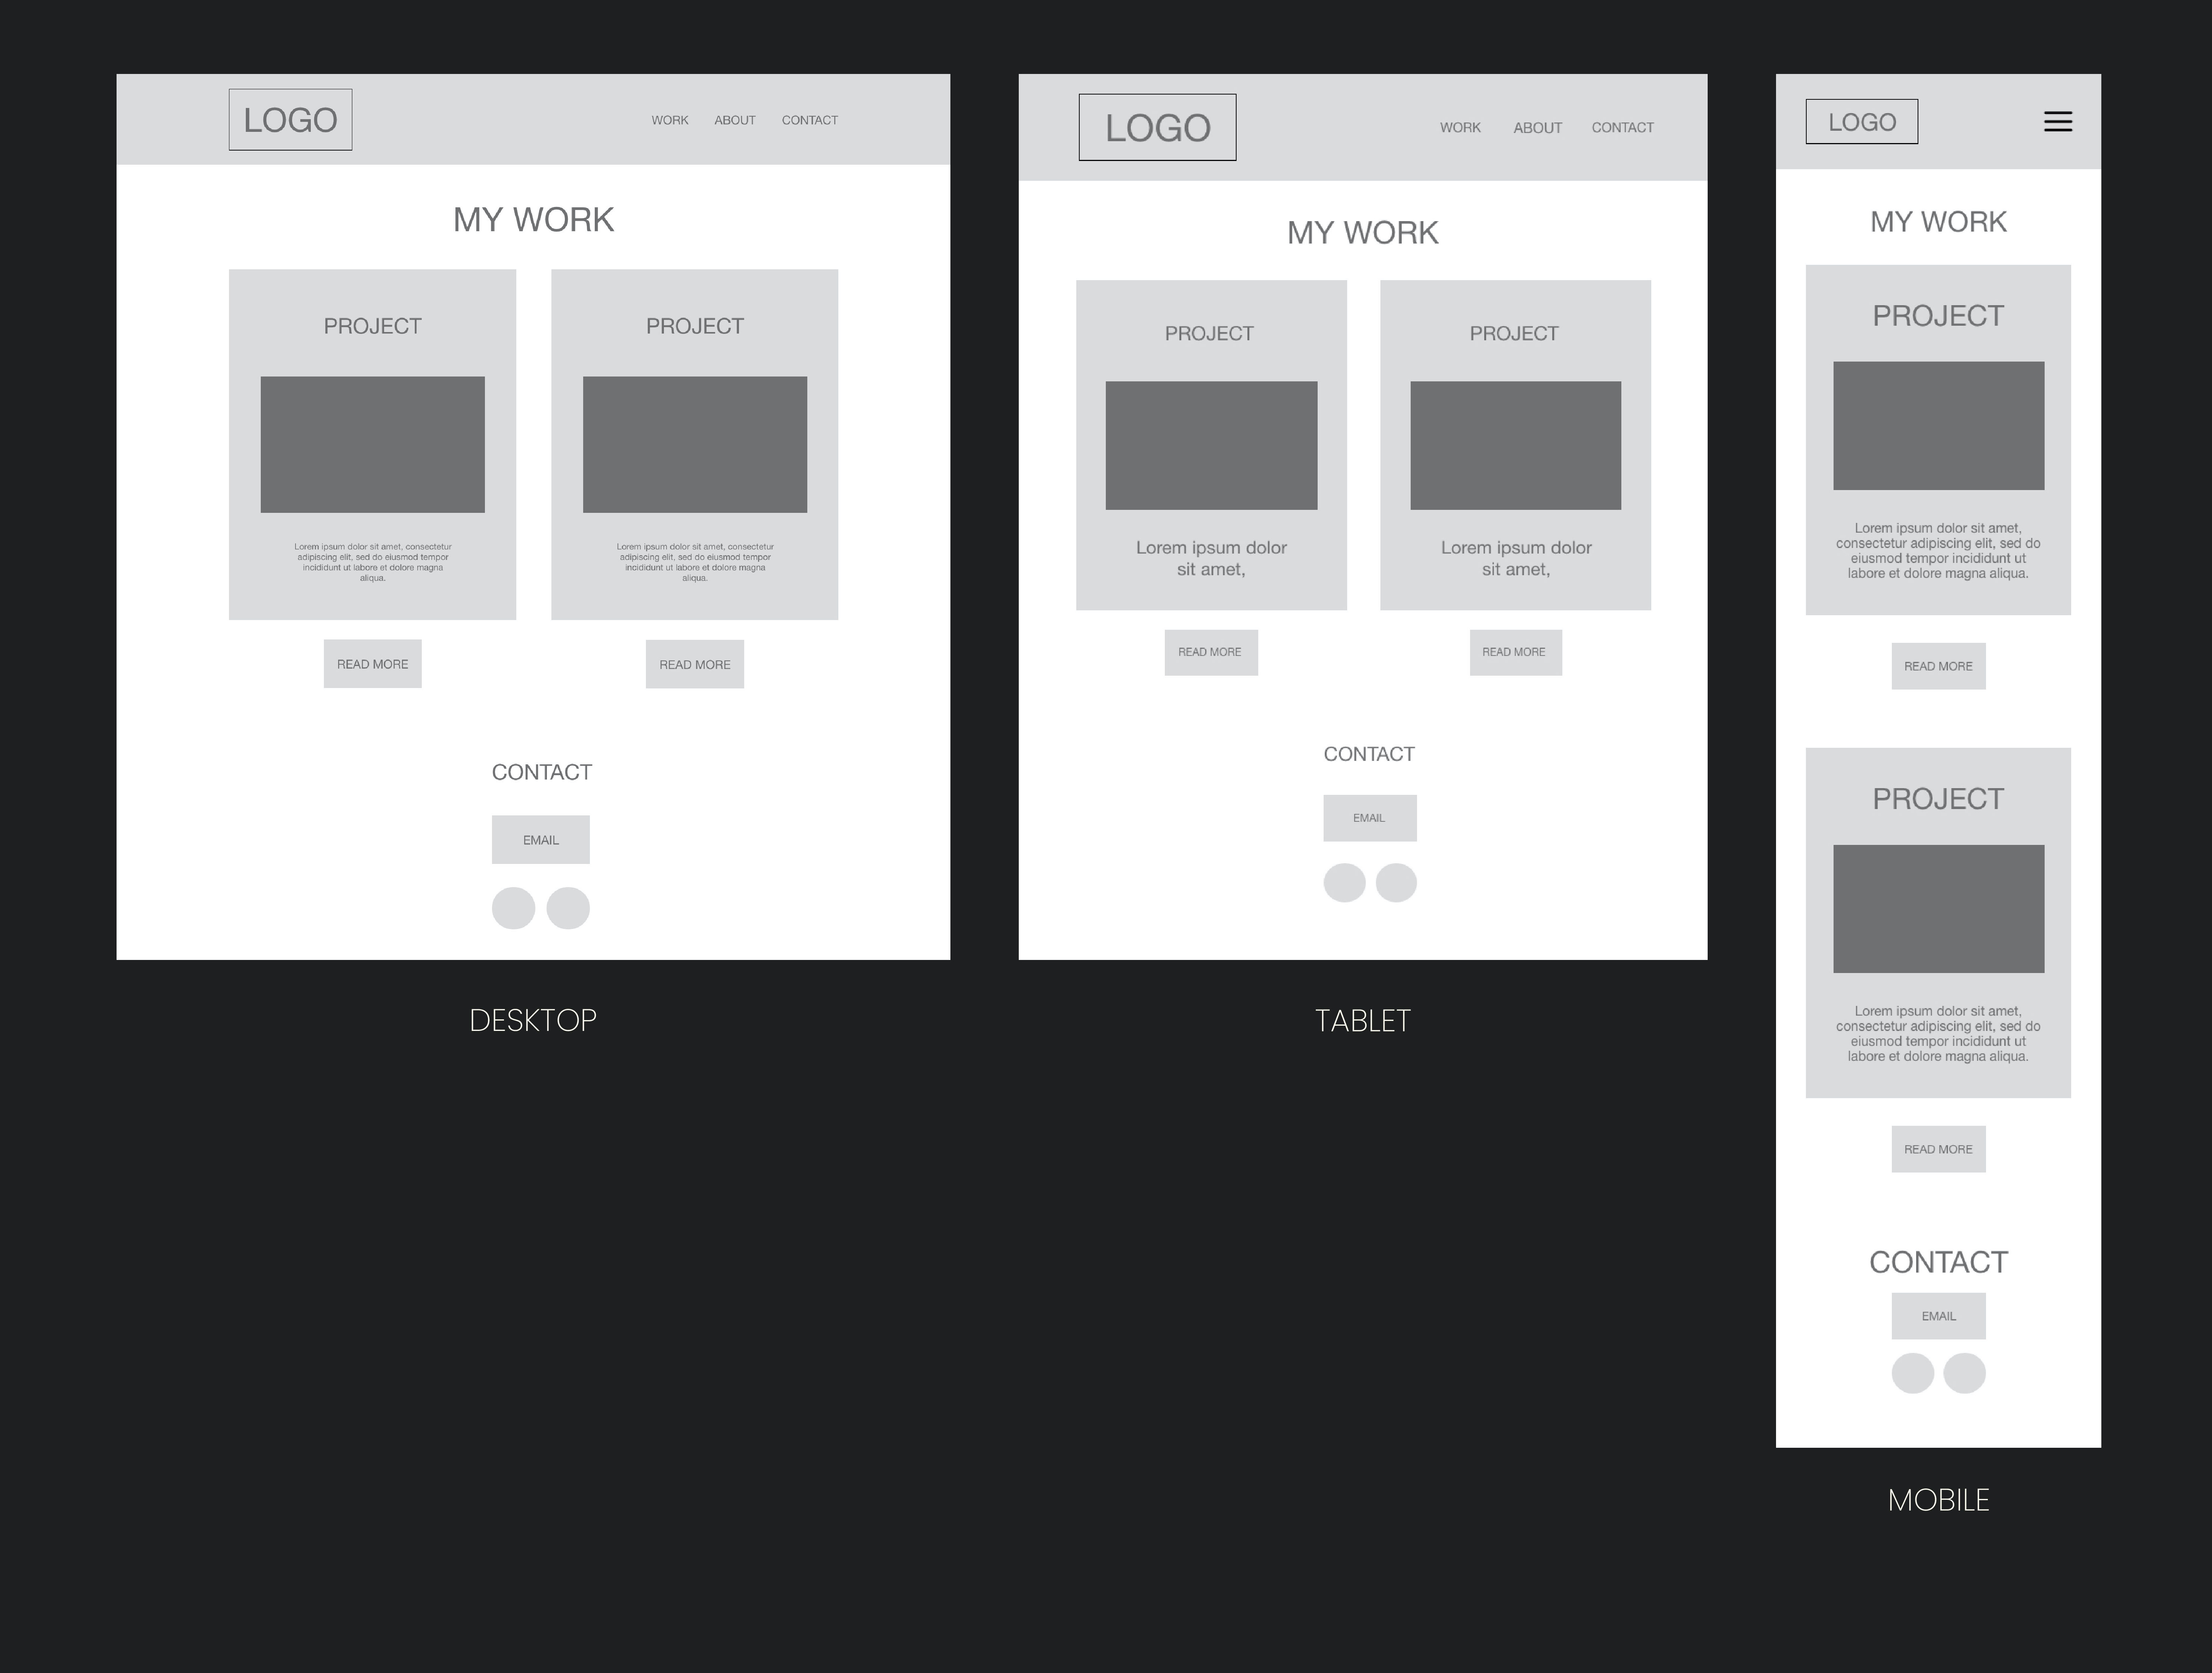
I began my project by creating wireframes and writing all of the copy that would be featured in my portfolio. By starting with the content I was able to design my website around my work. With all of my content prepared I was able to begin creating the website, starting with the HTML.
Wireframes
HTML
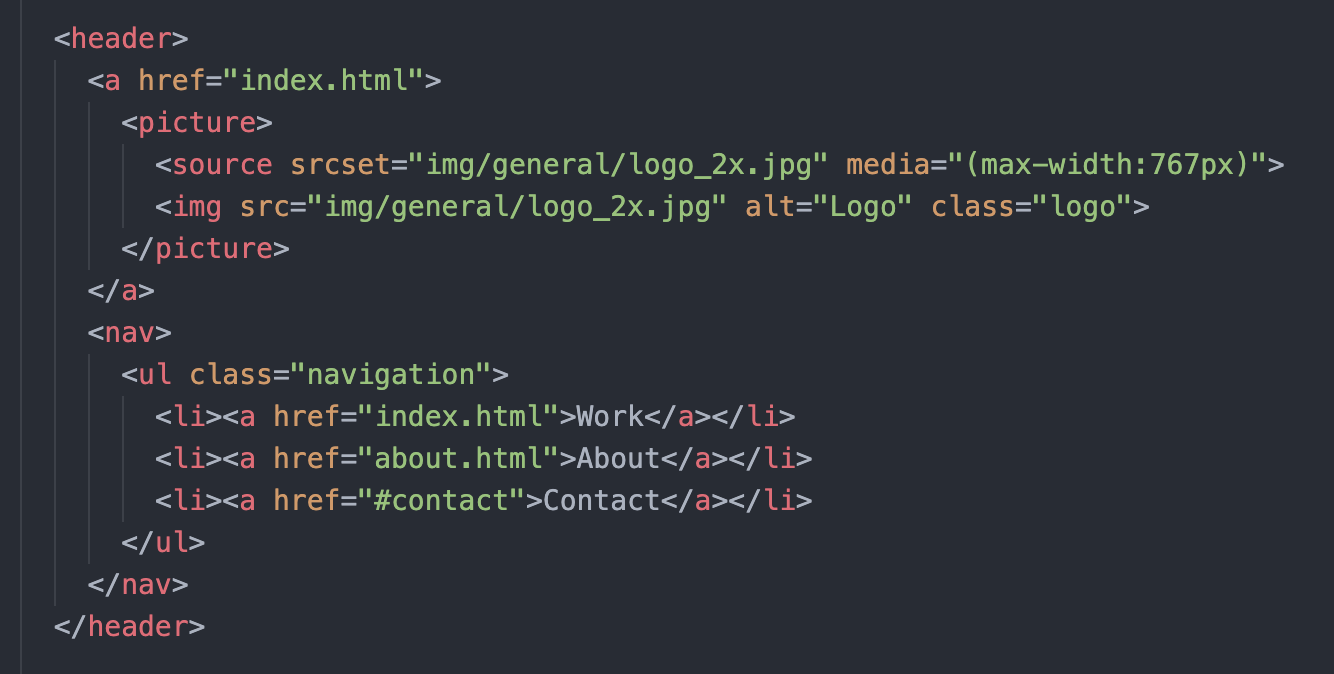
I began constructing the framework for my website using HTML. I started learning how each tag affected the page created and how to build the basis of my portfolio site. Here is a snippit of the < header > section of my HTML when getting started.
CSS
After the base of my portfolio site was created I was ready to add in some style. I started developing my visual identity by selecting fonts, a color scheme, and creating a logo. This porfolio is designed to serve as a backdrop for my past and future projects and I didn't want it to clash or compete with the work I am displaying.I also wanted my portfolio to reflect my personal style so a dark theme with a clean, sans serif font felt the perfect balance.
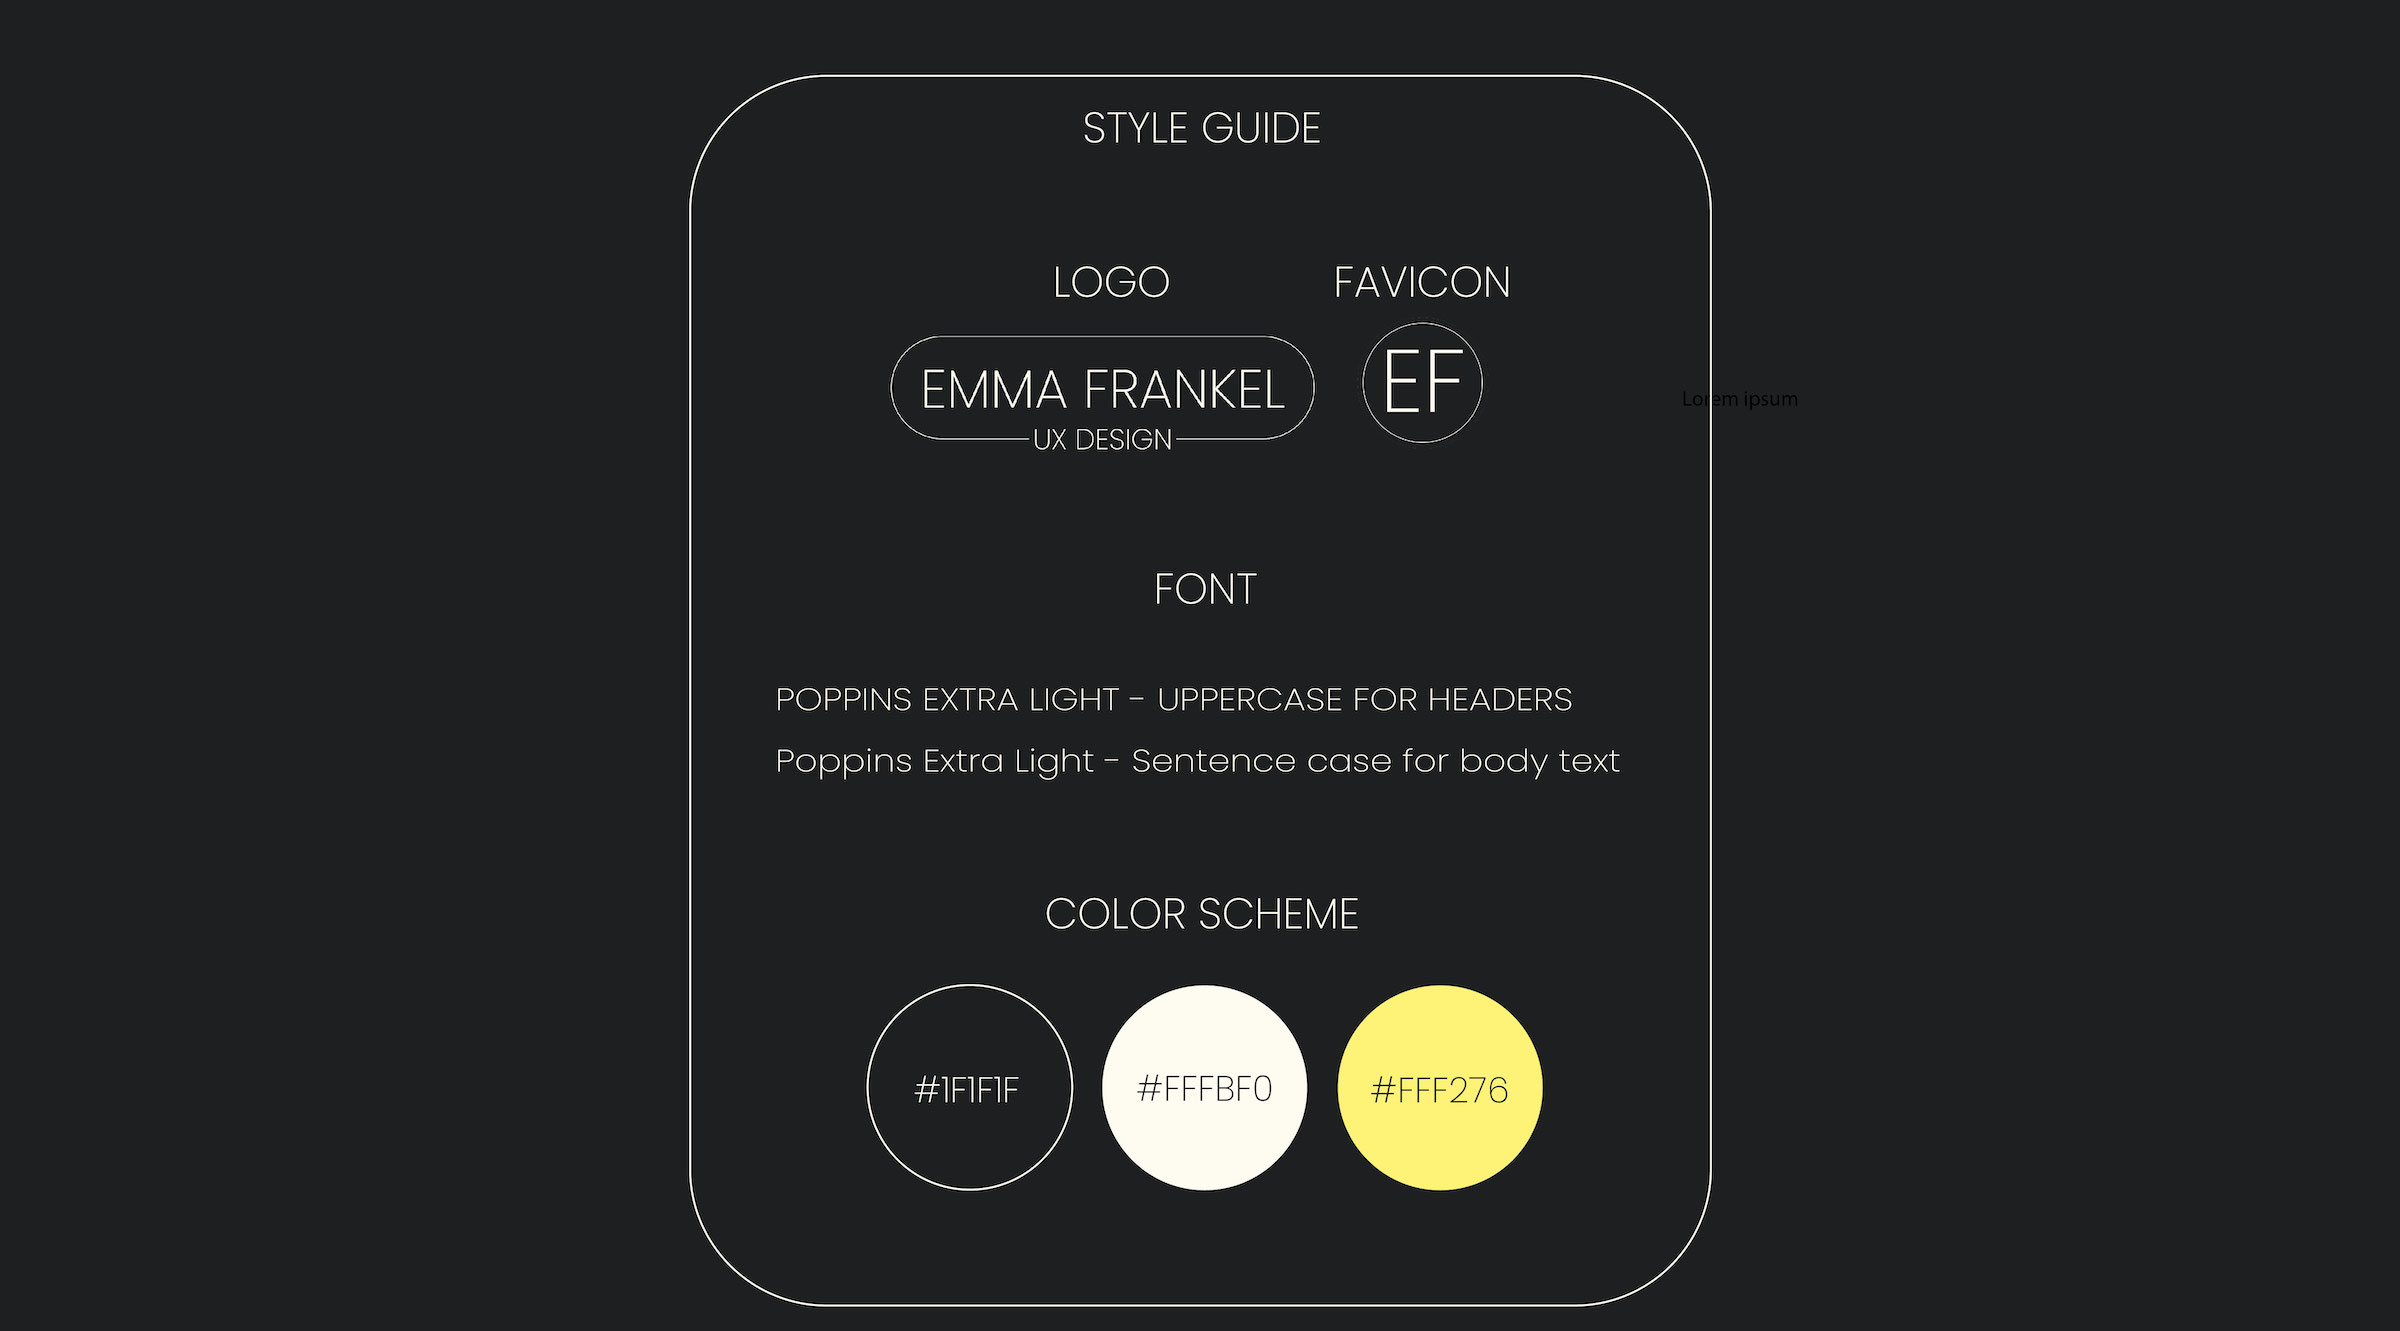
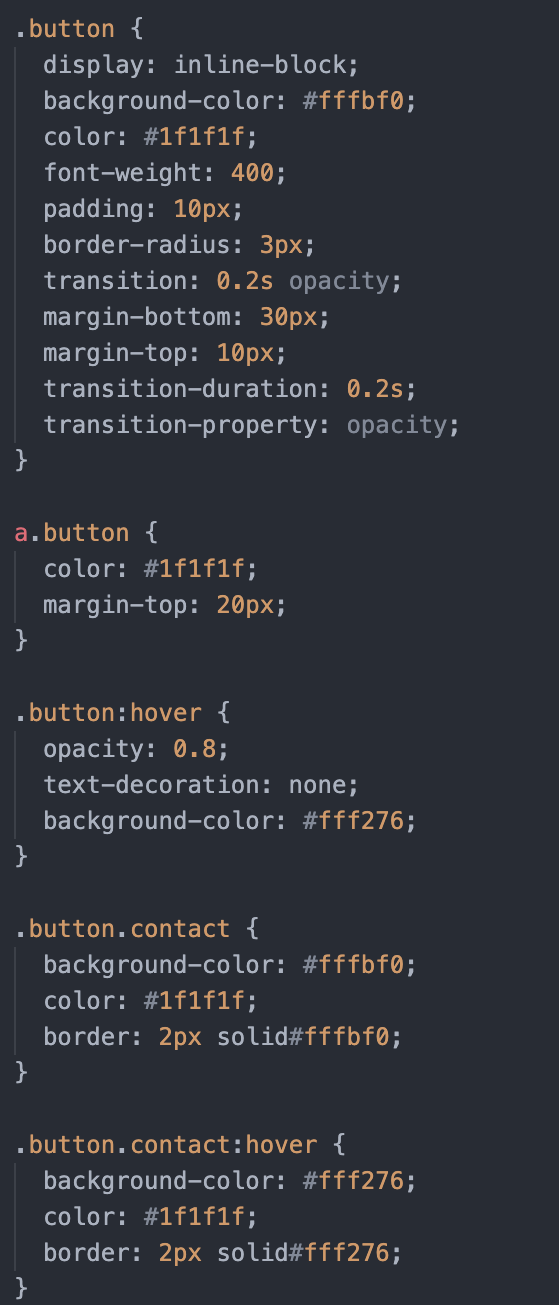
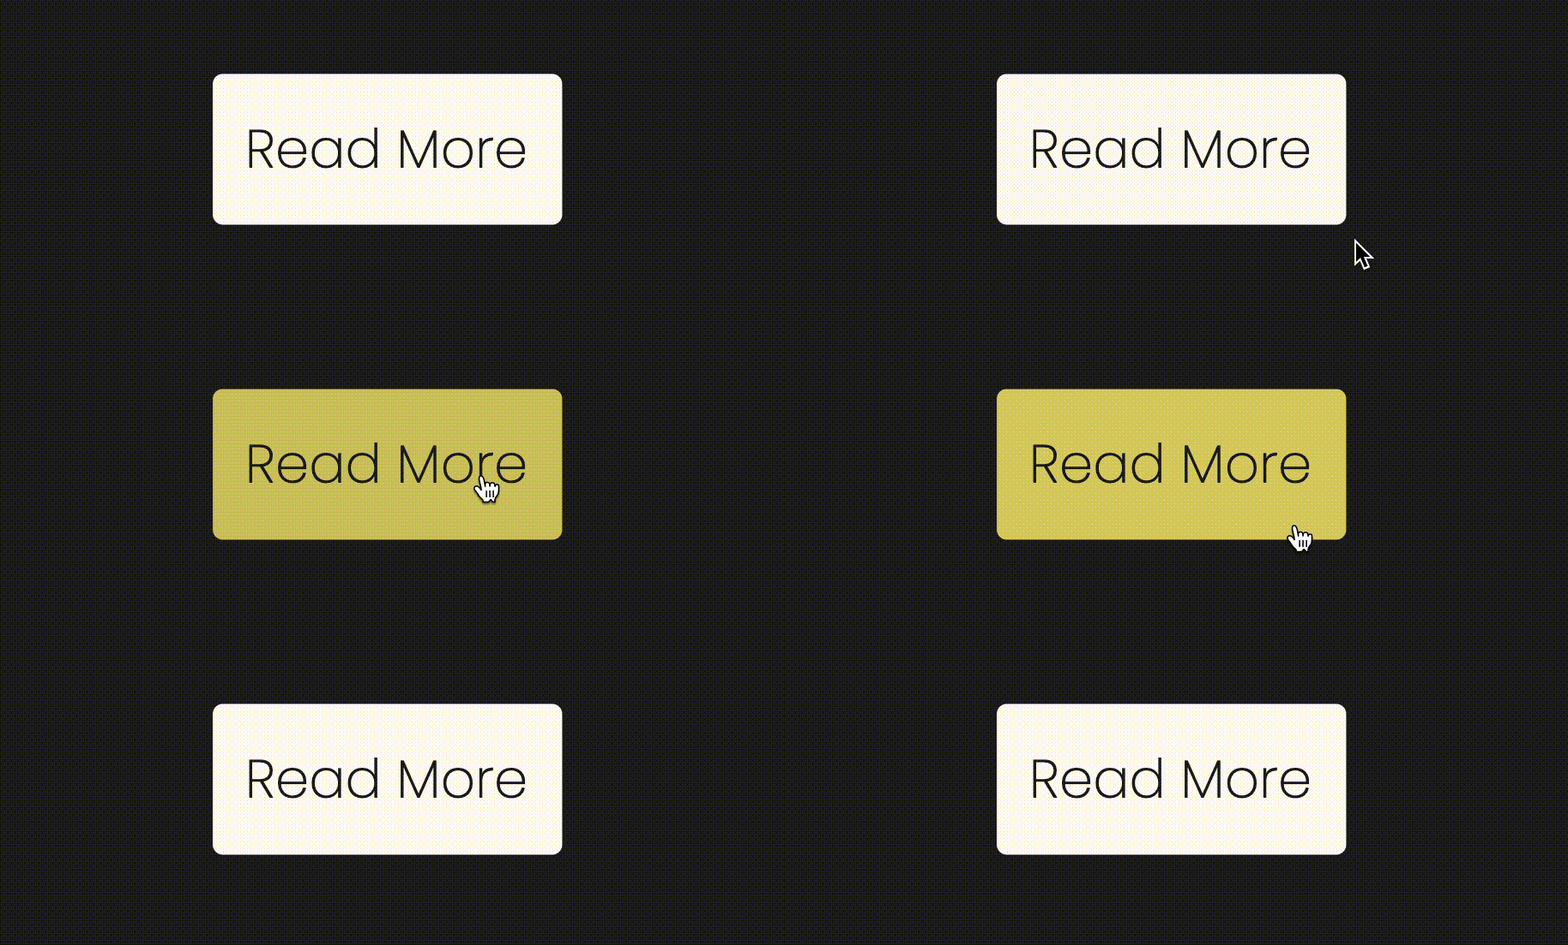
With my visual identity in place I was ready to begin work on bringing it to life with CSS. Here is a look at the CSS that created the visuals for the buttons seen throughout and a look at it in action.
JavaScript
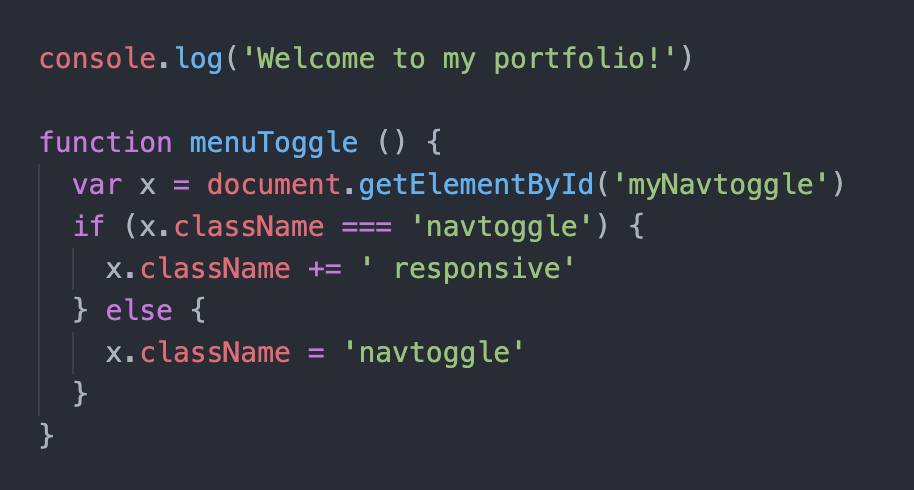
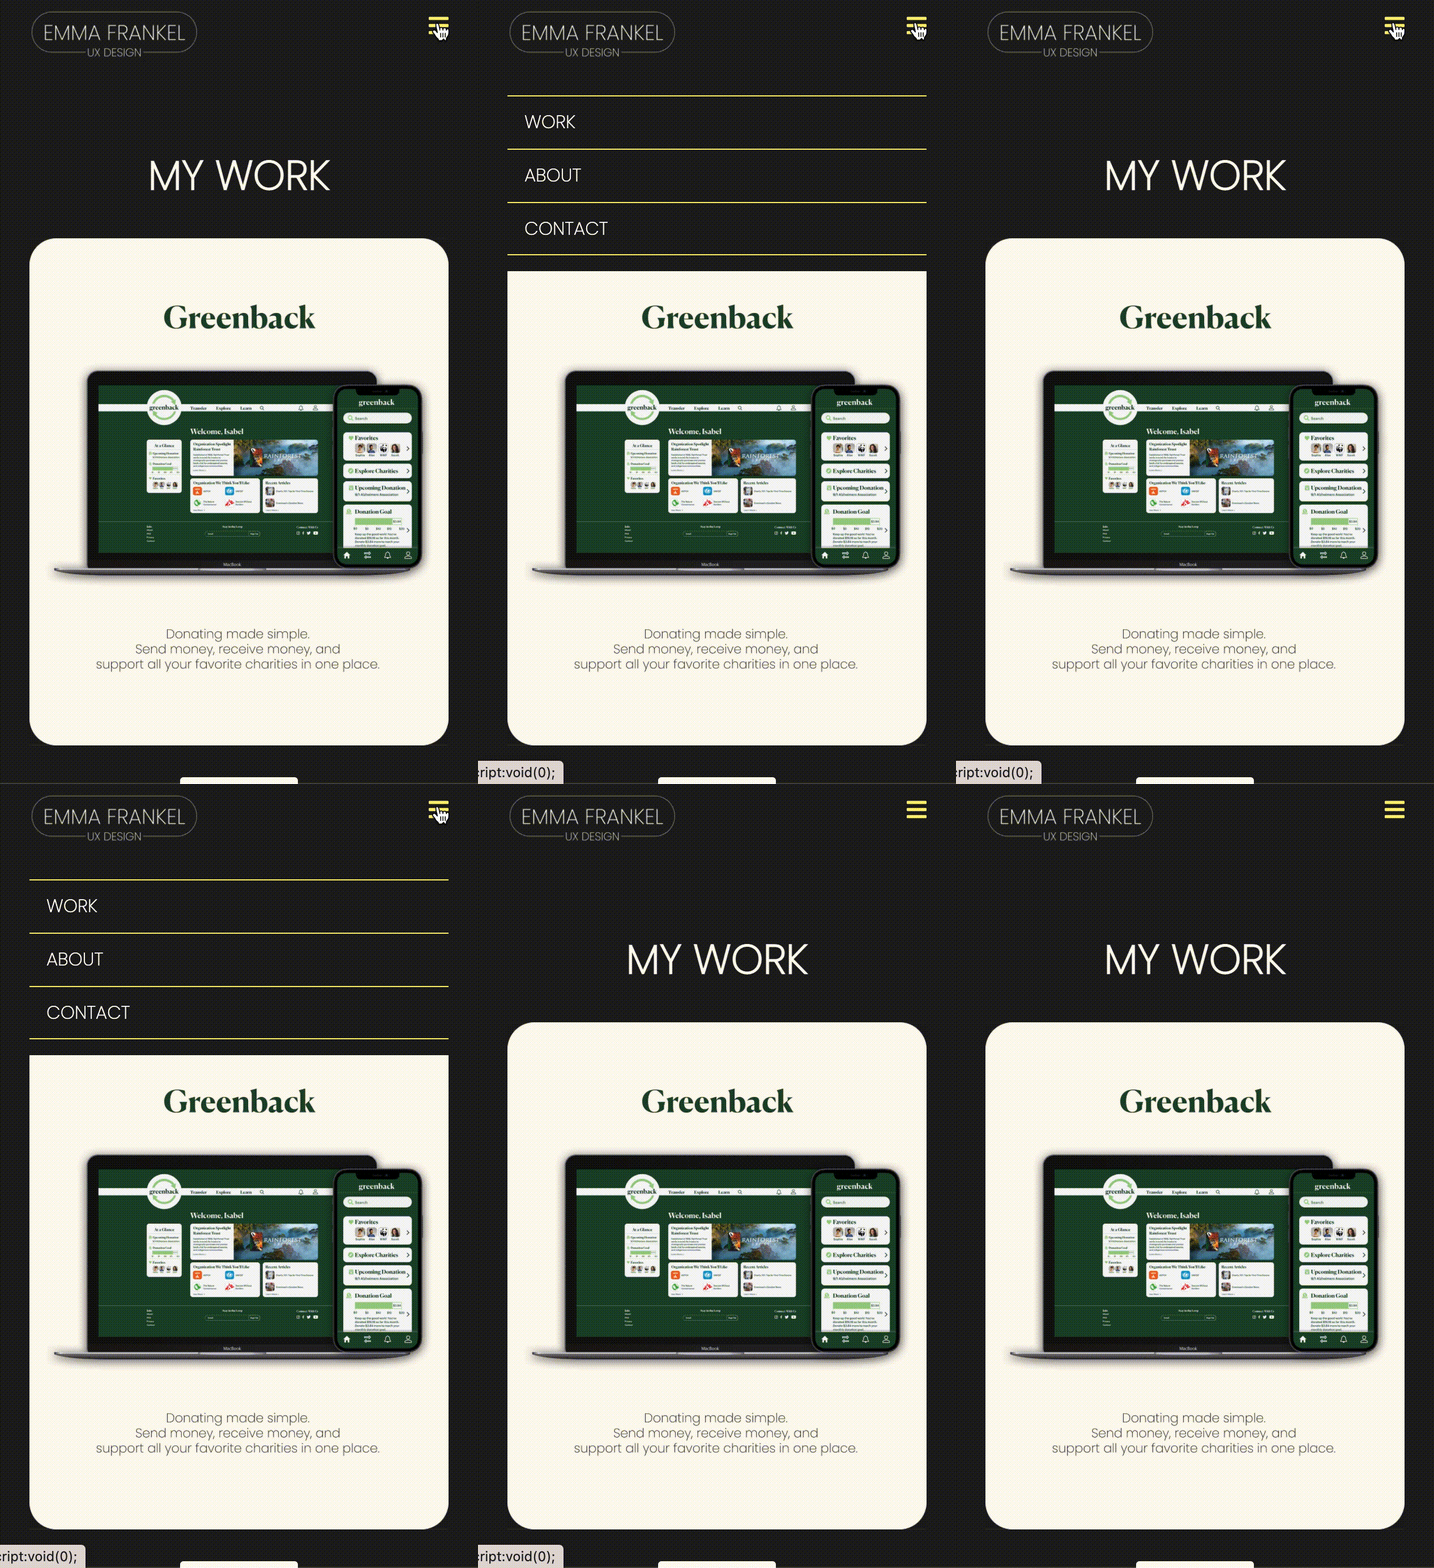
The final element to bring in before user testing was JavaScript. Using JS I added a drop down hamburger menu that would be used in the mobile version of my website so the header wouldn't feel so cluttered.
Usability Testing
After creating my MVP I was ready to test the product to see what works and what needs improvement. I conducted my test with 5 people asked them to complete a series of tasks through my website. Here are some of the key pieces of feedback I received, I used the Nielsen Severity Rating Scale to determine the severity.
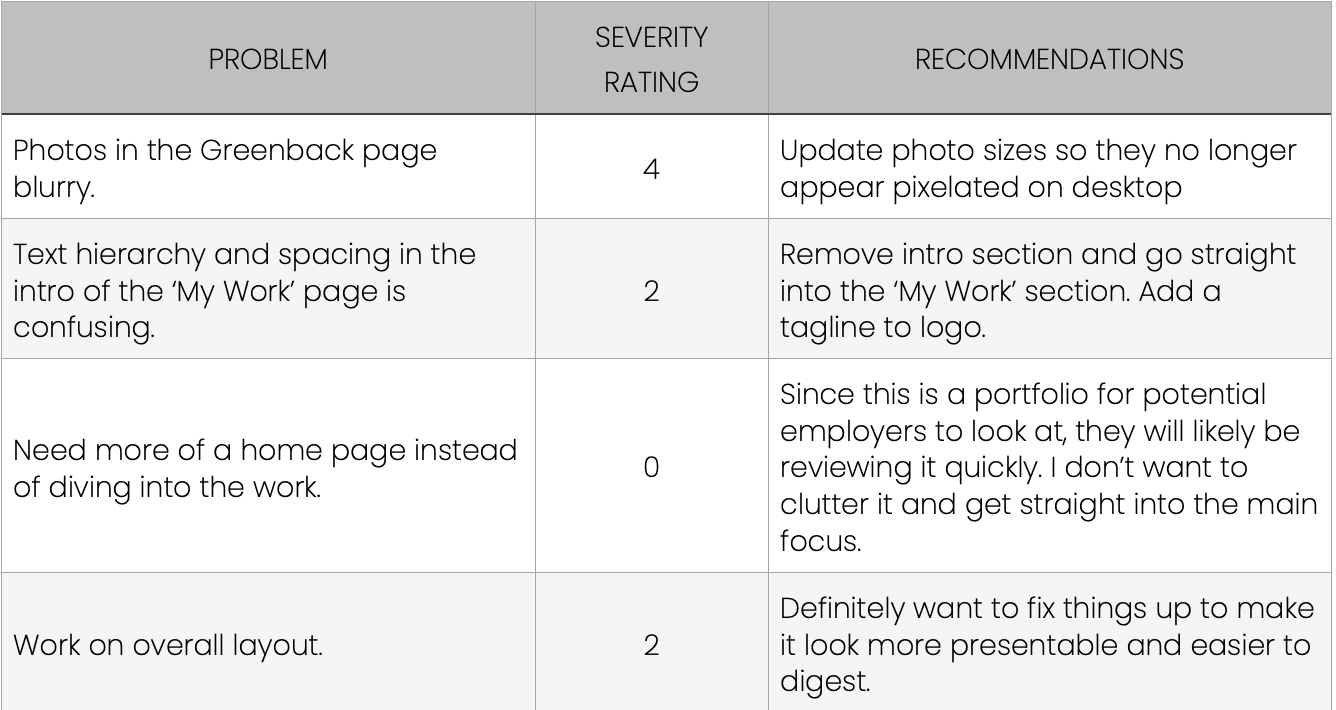

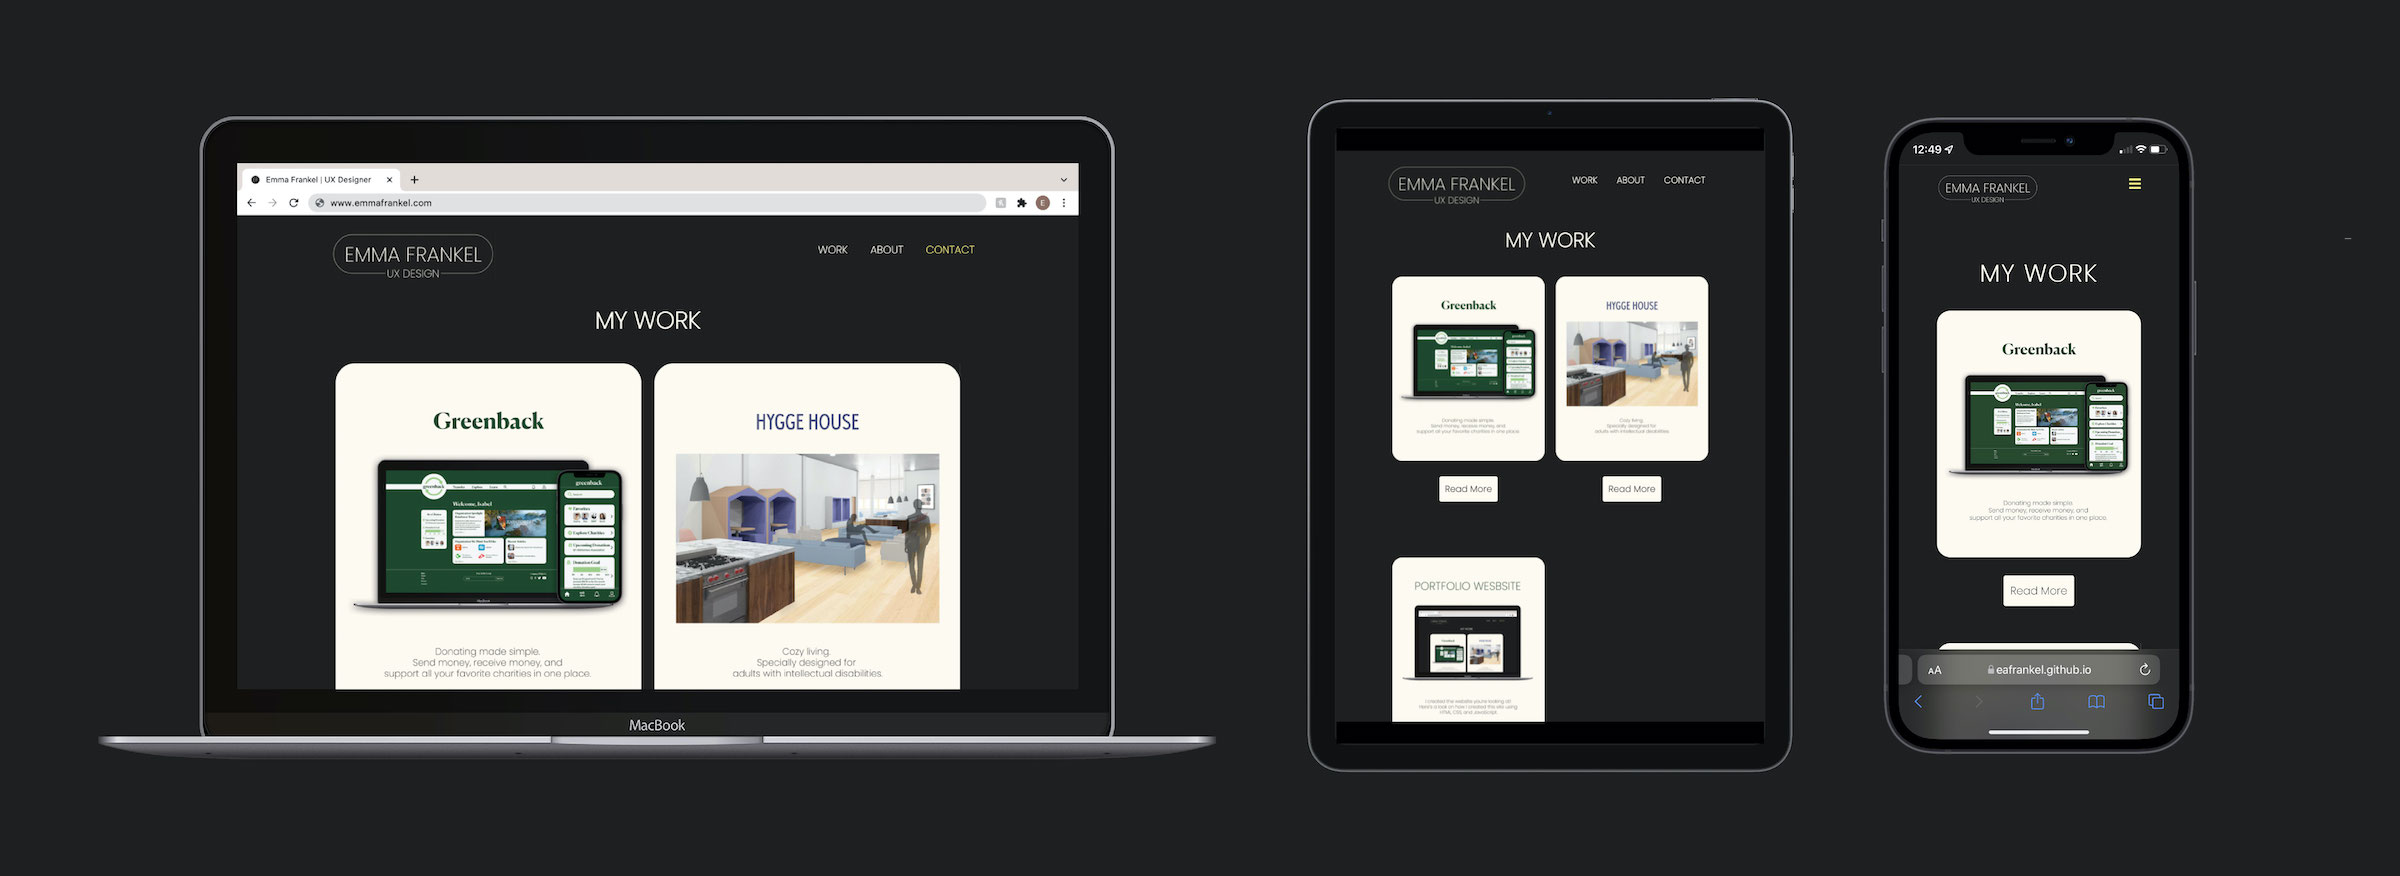
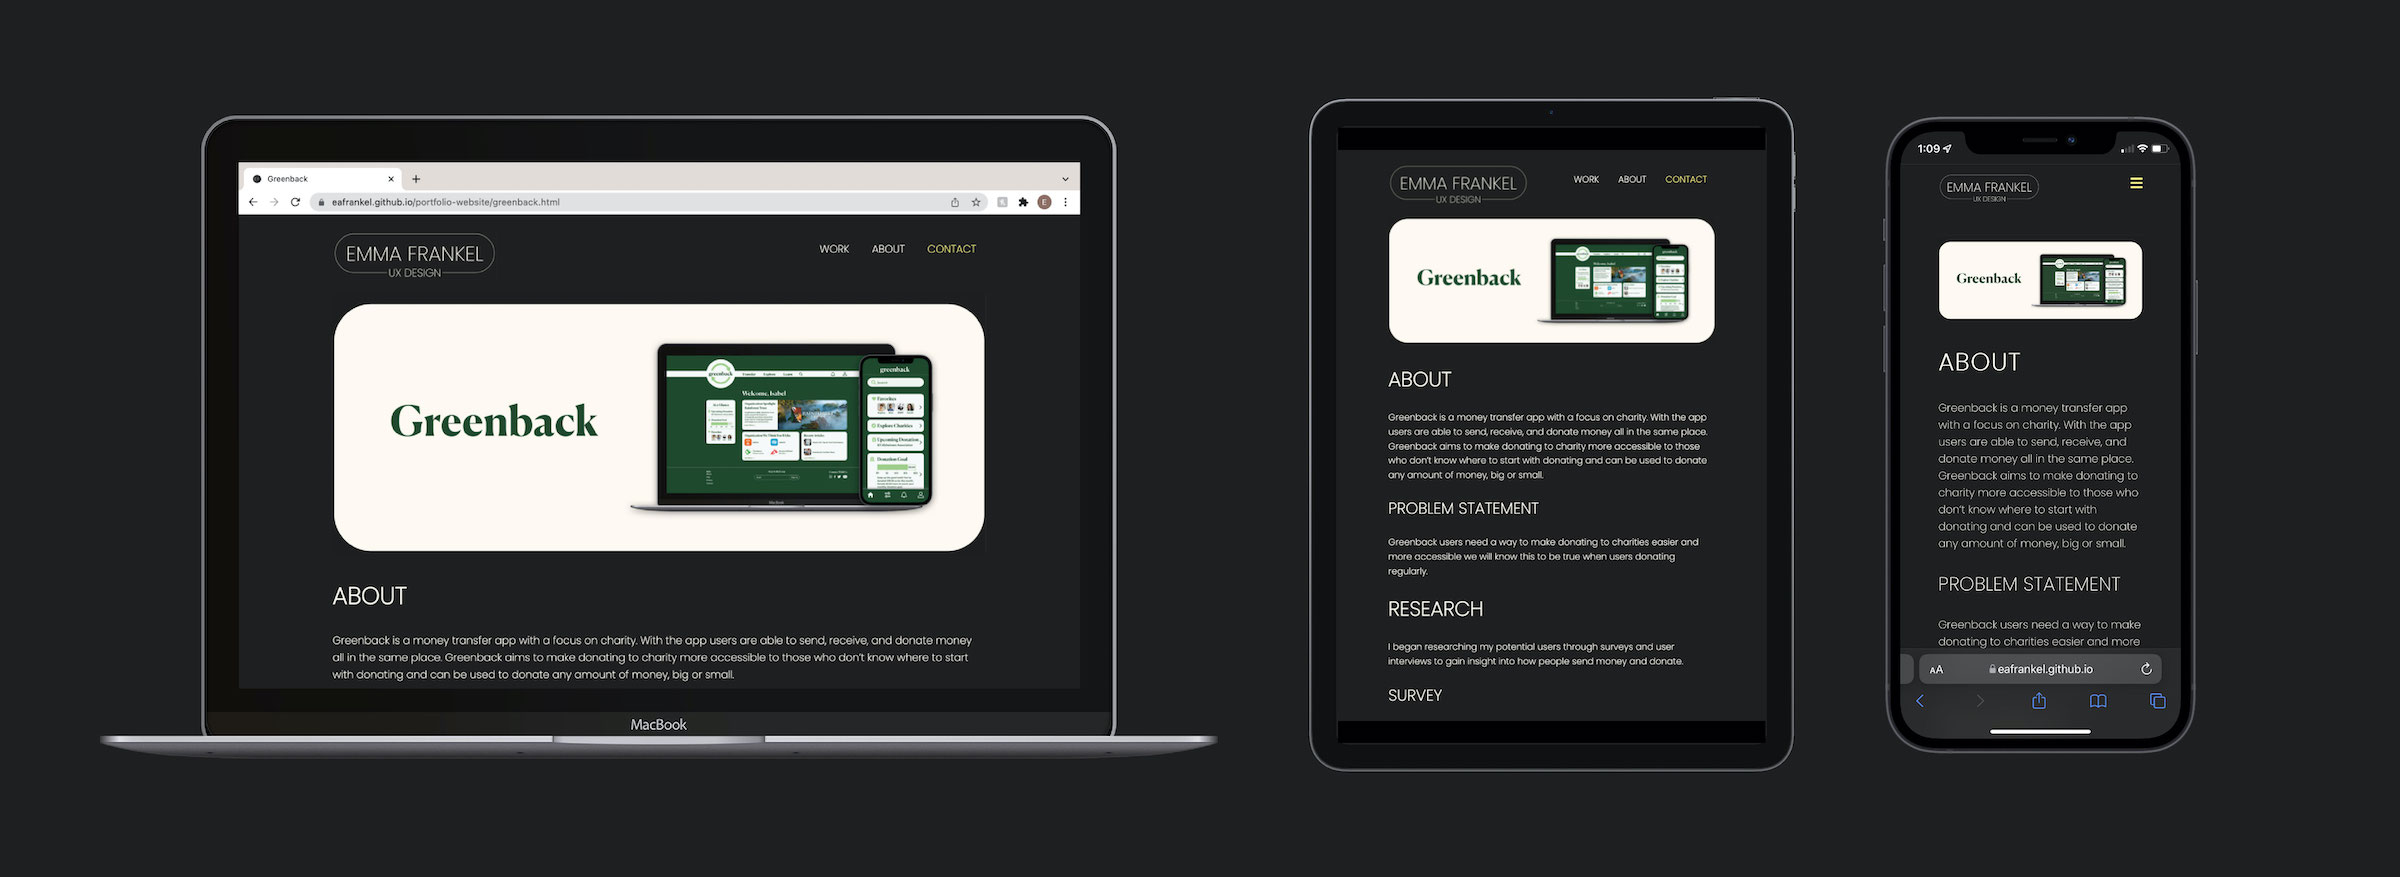
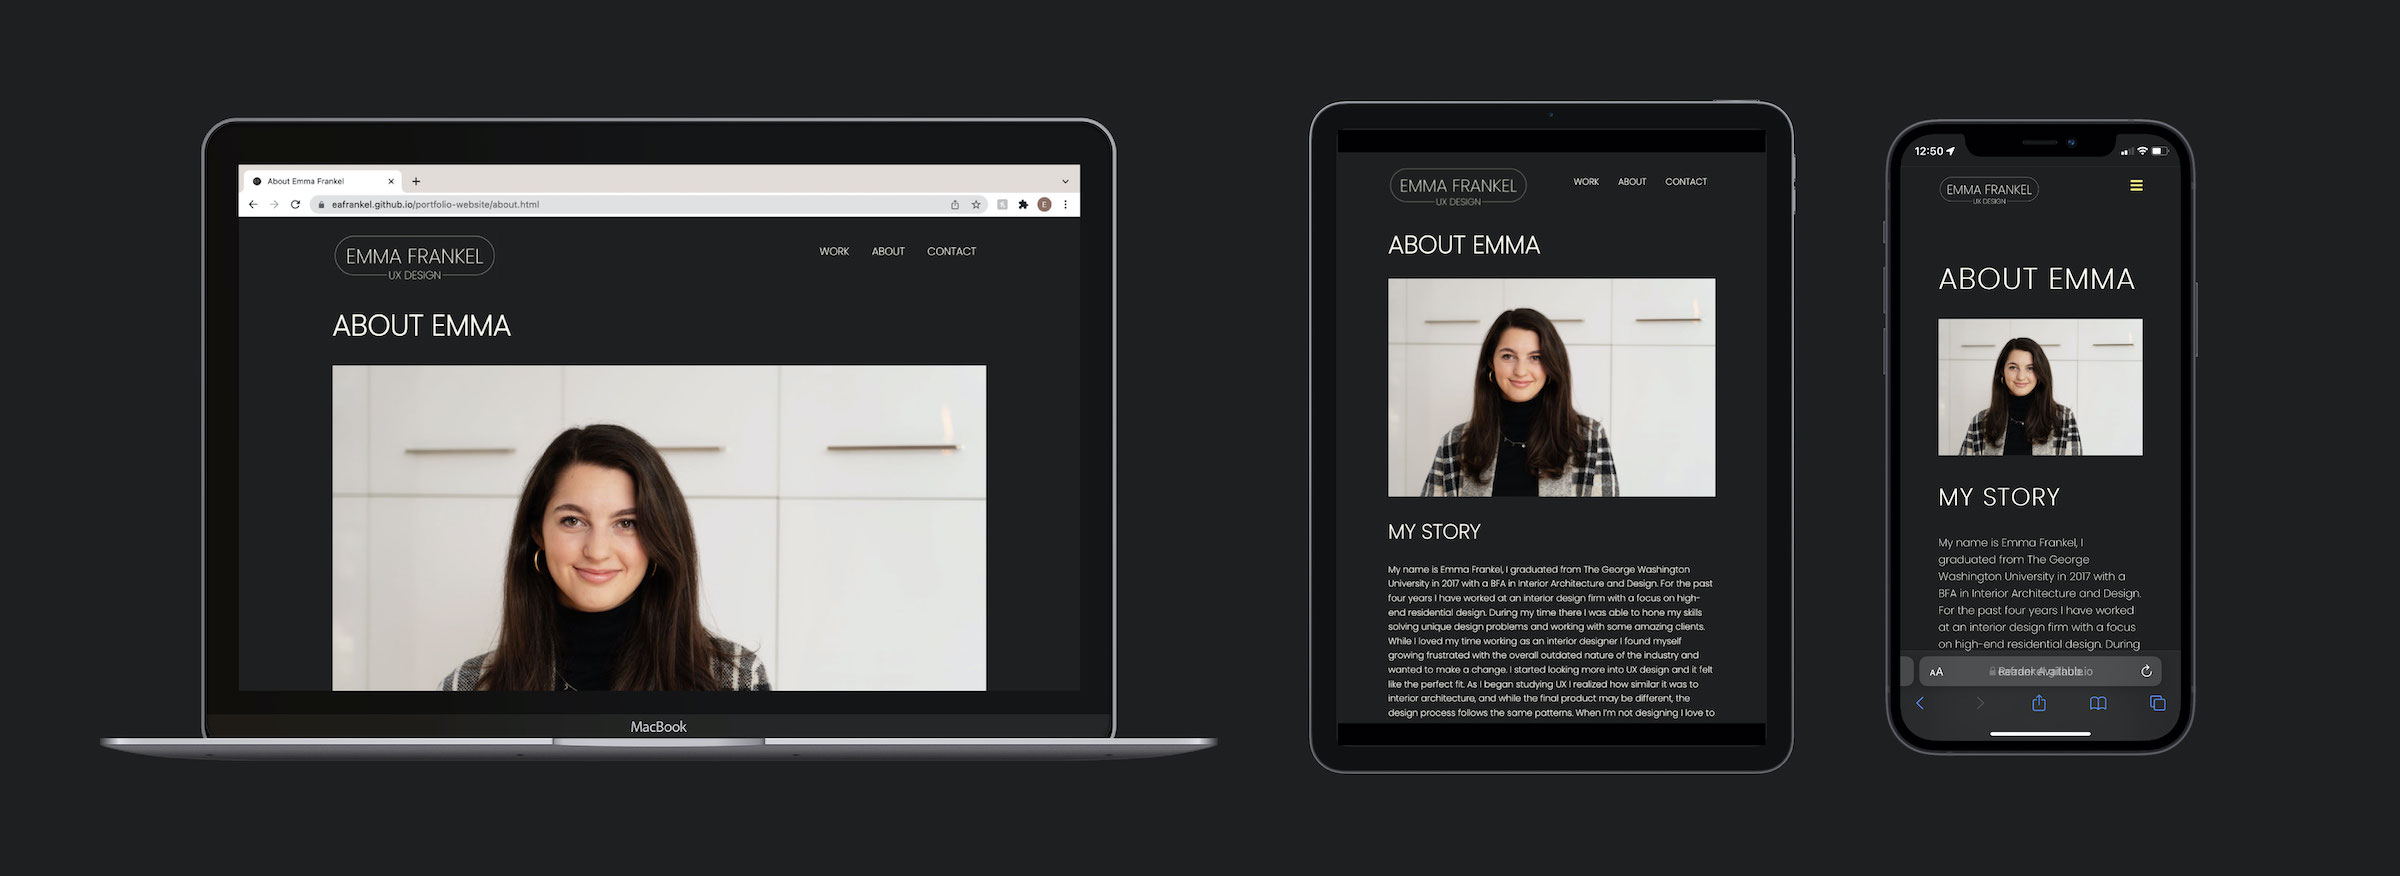
After receiving some great feedback during my usability testing I went back in and made changes to improve my site and finalize my design.
Home Page
Project Page
About Page
Final Thoughts
This project was challenging and out of my comfort zone but overall I am happy with the final result. I learned the basics of coding and feel like it will help me as I move forward in my design career. This is an ever evolving project that will I will continue to update and grow in the future. For a more in depth view feel free to take a look at my GitHub.
